|
|
|
|
Caterpillars to Butterflies
One of the most delightful things about
agarden is the anticipation it provides. -- W.E. Johns
Recently, we have been
collecting baby Monarch and Queen butterfly larvae, from our Milkweed plants
and those where I work, and bringing them inside to raise. It started
with a friend sending some home with me when she went out of town. Many
of these would have died, having been attacked by a predatory wasp that lays
eggs in the caterpillars. These wasp eggs hatch into larvae that kill
the host, as evidenced by "strings" hanging from the dead
caterpillar or chrysalis. When collected as eggs or very small larvae,
around 1/4" long, the baby butterflies will not yet have been attacked
and will be able to develop fully in a simple "bug house" (shown in
these pictures). Eggs do not do as well in the house as caterpillars
do, maybe because of the dry air inside most homes. If you have a
humid environment, it may be worth trying. Monarchs are among the
easiest butterflies to raise. This is a wonderful process for children
to watch and get involved in, but grown-ups are usually seduced just as much
by the wonder of it. All visitors to the house are shown my babies, and
I have taken the caterpillars and butterflies to see others, and nearly
everyone is enthralled. I try to let a different person set each
butterfly free because it makes them so happy!
Care is easy - fold a paper towel in half and dampen it, squeezing out excess
water, then line the bottom of the house with it. This will provide
needed humidity, as will sprinkling or spraying a little water on the inside
walls. Place leaves with larvae on them inside, on top of the paper
towel. Tiny larvae tend to crawl around a lot and may get out the holes
in the lid, so I have covered the top of mine with a piece of voile, which is
held on by the lid. Any fabric with very tiny holes will work, as will
panty hose fabric. Remove the voile or other fabric when the
caterpillars are too big to get through the holes in the lid - they will need
to hang from the lid later. I set the house in a window where it will
get some light, but not get too hot, and remain undisturbed. Each
morning, I replace the paper towel with a fresh one and add fresh
leaves. When transferring larvae, remember the small ones are very
delicate, so it is best to coax them to crawl onto the new leaves, then move
the leaves, rather than trying to pick up the babies.
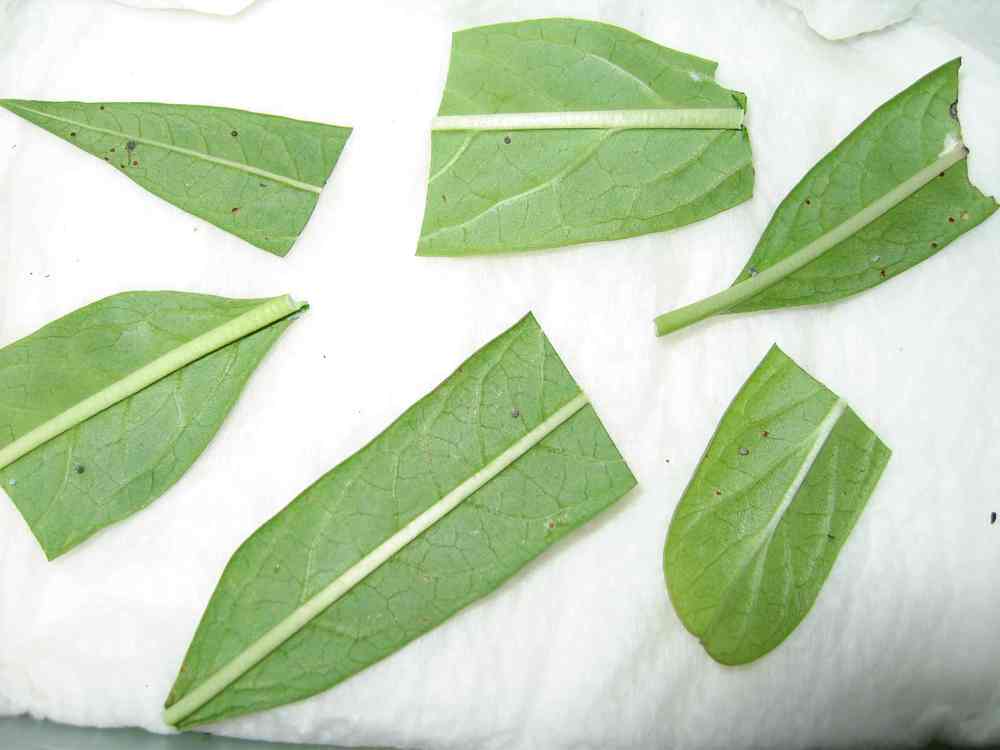
Small larvae do not eat a lot, not even an entire small leaf at a time, but
they may nearly double in size each day, and a single large caterpillar will
eat three or four large leaves a day. Be sure you have enough of the
correct larval food plant for your caterpillars. Monarch and Queen
caterpillars will only eat Milkweed, though flying adults will sip nectar
from a wide variety of butterfly-attracting flowers. If you start to
run short of leaves, try looking in wild areas and collecting a few leaves
from each plant. Leaves can be sandwiched between damp paper towels and
refrigerated for several days (be sure to check them for eggs and larvae
first!).
After several days, a Monarch or Queen caterpillar will be around 2"
long and ready to move on to the next phase of life. You will find it
hanging by its rump from the lid of the cage, its front end curved upward, a
classic "J" shape. Within a few hours, it will begin to
wriggle, then the skin will split at the head, revealing a bright green
worm. It will wiggle furiously as it wrestles the skin up and off, and
finally the skin will be lying at the bottom of the cage, a ball of black
stripes and antennae. Then the worm will move a bit more, until it
contracts into its final chrysalis shape. The outside is clear, so from
about six or more days later, you will be able to watch its development
inside, as through a window. Within seven to ten days, it will begin to
turn dark, and on the morning of hatching, you will be able to see the
markings of the wings on the folded-up butterfly inside.
It is hard to catch a butterfly in the act of hatching from its chrysalis, as
it is very quiet, and it pops out very quickly. After raising several,
I was finally able to see this happen, and ran for the camera to document the
process. You can see the pictures on the fourth page. First, the
butterfly is all folded up, but it quickly begins pumping fluid from its body
through the wings, and they begin to straighten out. After that, the
rest of the fluid is dumped, and the wet butterfly needs to hang to dry for a
few hours more. This will often be early afternoon. When it is
getting ready to go, it will do a lot of flexing of its wings. At this
point, it still needs some time to dry its wings, so don't be too hasty in
letting it out. When you do, it may be very docile, crawling onto your
finger, then onto a nectar-laden flower. If it is very ready, it may
fly out right away. Be sure there are nectar-producing flowers in the
area where you let your butterflies go. Also, try not to let them out
in the rain - wait for rain to stop, or the new butterfly's wings may be
damaged.
These pages show the development of our charges over time, so the pictures
are arranged by date. Click any picture for a larger version.
Next
|
|
|
|
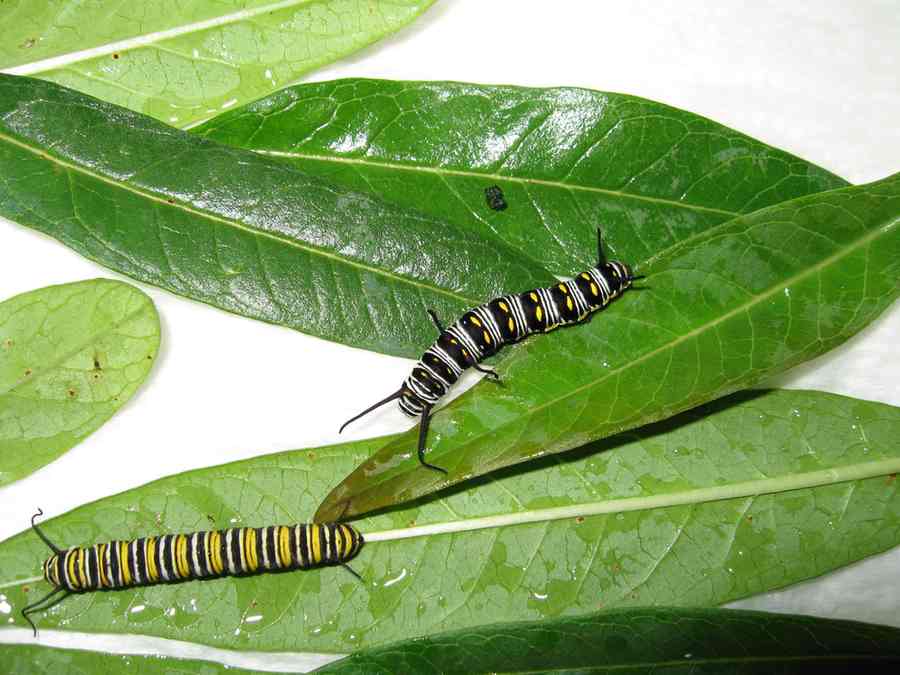
07-09-06 caterpillars raised inside from eggs - 1
Queen right, 1 Monarch left
|
07-09-06 caterpillars raised inside from eggs - 2 Queens, 2 Monarchs
|
|
|
|
|
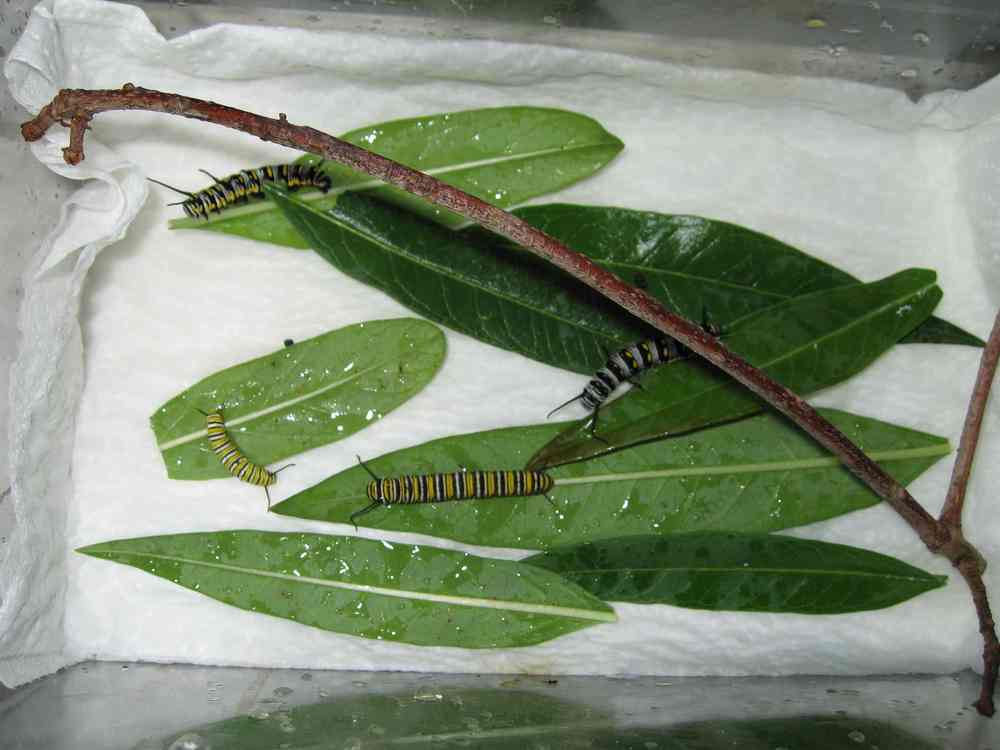
07-09-06 caterpillars raised inside from eggs at
Depot + home - 2 Queens, 2 Monarchs
|
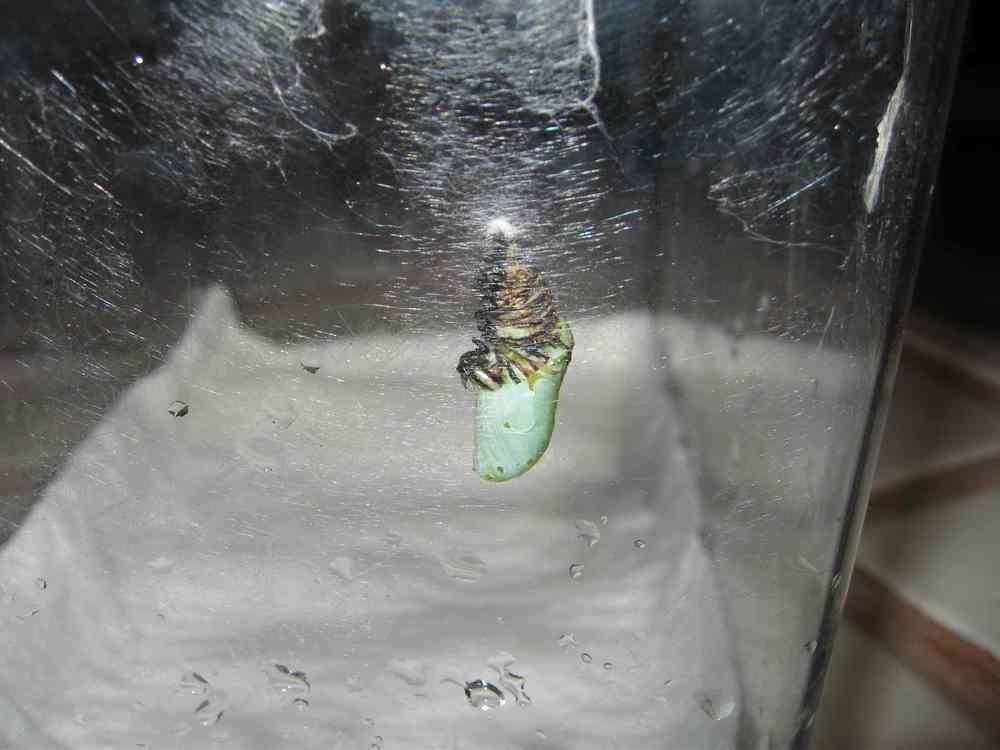
07-09-06 chrysalis formed 7-6-06 at home - fell +
had to be tied up
|
|

|
|
|
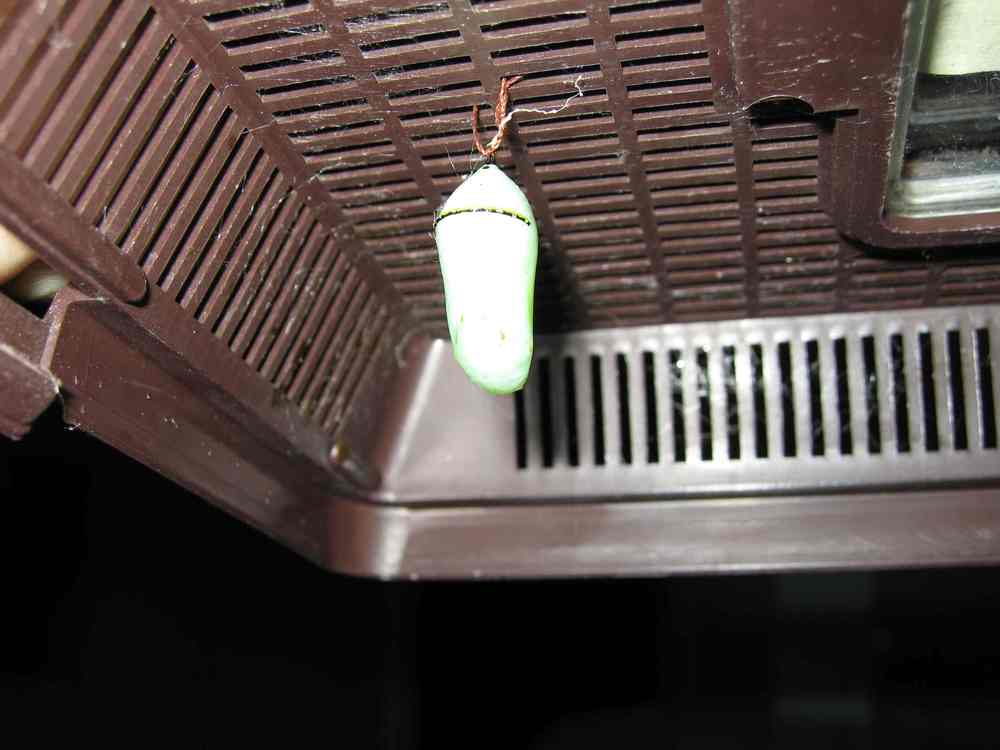
07-09-06 chrysalis formed 7-6-06 at Depot - this
one later died and turned black. It was too weak to crawl all the way
to the top, or to shed its skin completely.
|
07-09-06 chrysalis formed 7-6-06 at Depot
|
|
|
|
|
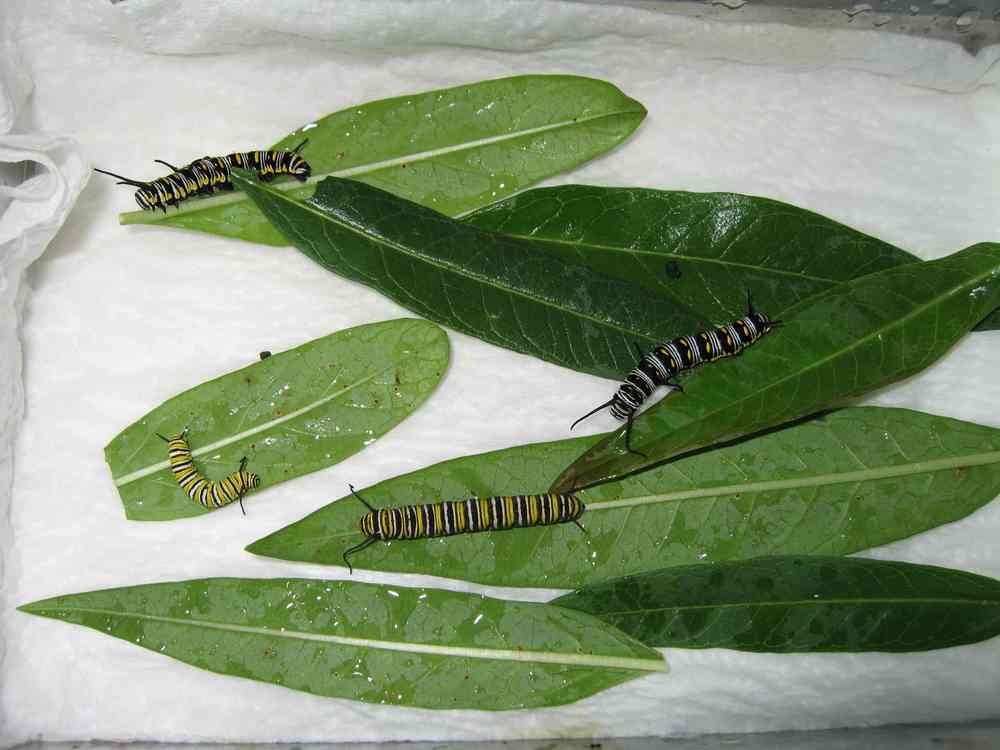
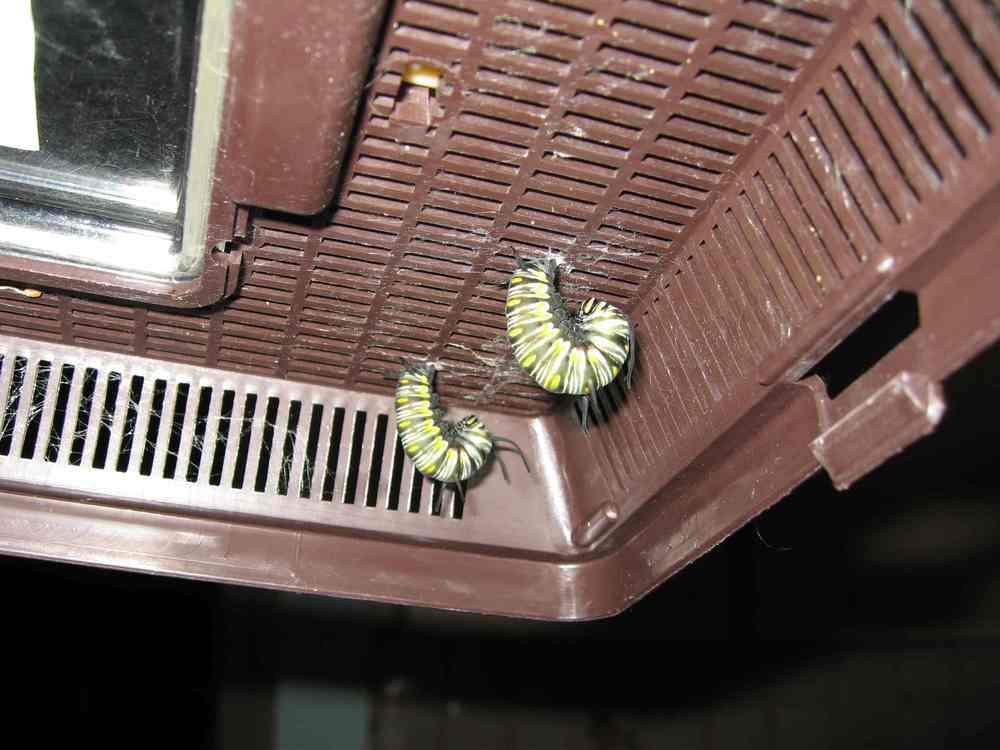
07-09-06 caterpillars ready to form chrysalis -
both Queens raised inside from eggs at
Depot
|
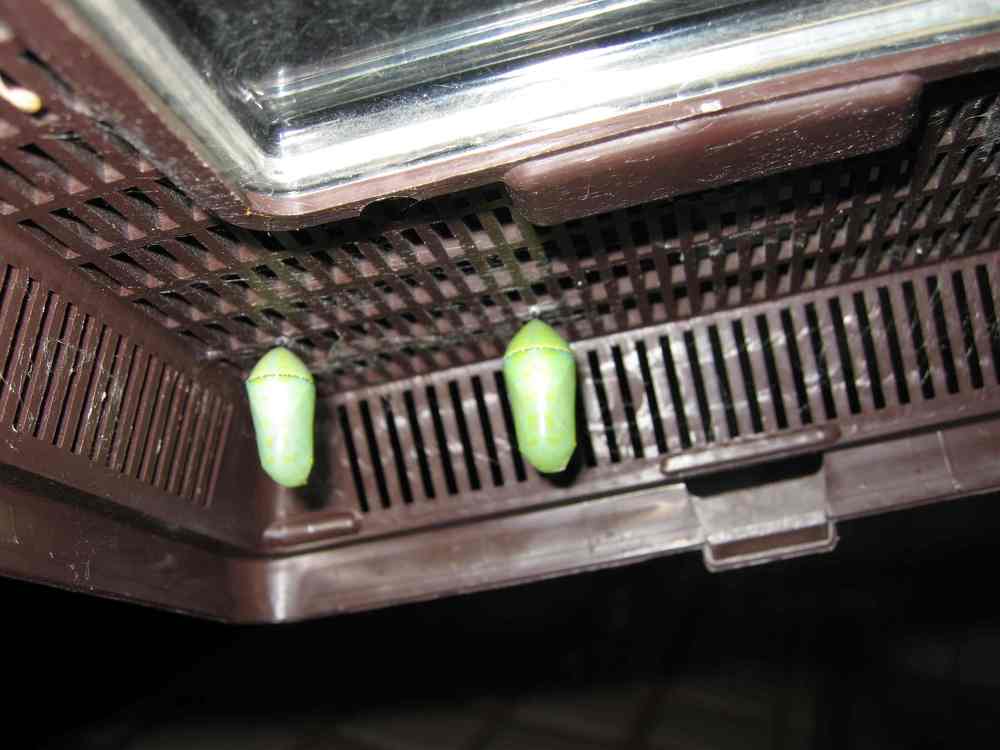
07-09-06 evening - chrysalises have formed
|
|
|
|
|
07-09-06 eggs collected at home today
|
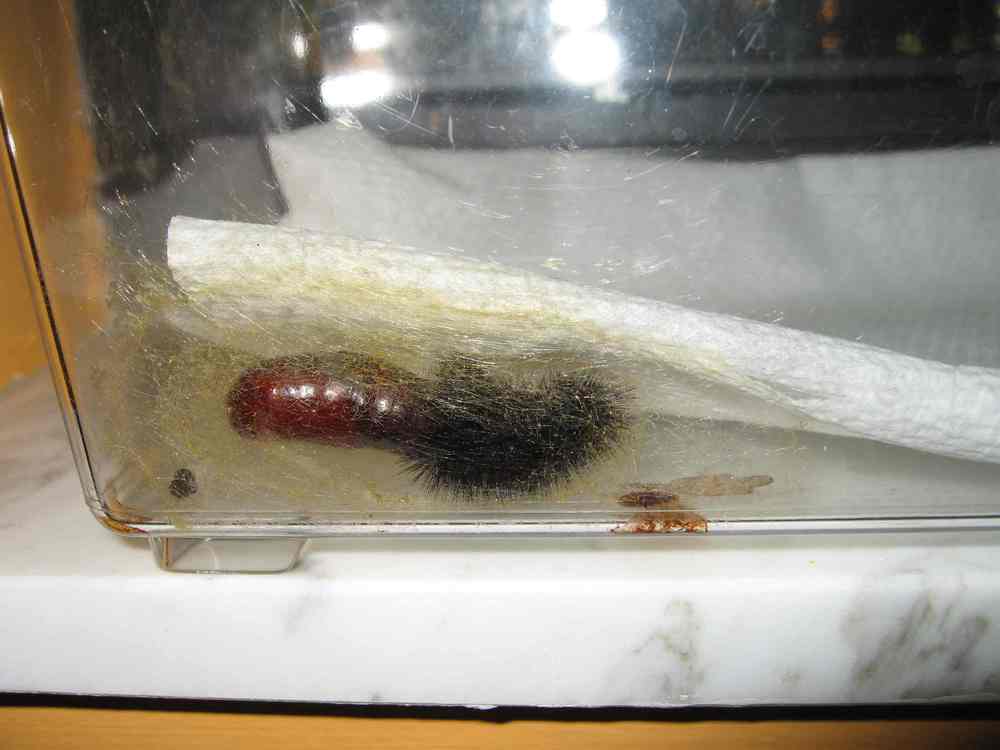
07-09-06 moth cocoon formed around 7-2-06 from
woolly black caterpillar on hibiscus at Depot - this one may take over a
month to develop an hatch out - they usually like to lie under leaves, so
this one went under his paper towel
|
Top
Next
Home **
What's New?
** How It
All Started * Garden Update
October 2004 * Garden Diary 2008 * Garden Diary 2009 * Garden
Diary 2010 * Garden Diary 2011 ** New! Garden Diary 2012
** Rose and Perennial Court * Rose Update Feb 2003 * Front Garden Update 2008-9 * Behind the Wall * Herb Circle * Tropical Edibles
Area ** New! Growing
Dinner: Visit to a Homegarden ** Potager
* Potager 2004-5 * Potager Plan
2008-9 * Edibles 2008-9 * Crop Chart
2008-9 * Edibles
Planting Schedule * Warm Season Planting 2005 * Succulent Beds * Wild Edibles *
Caterpillars to Butterflies * Building Healthy Soil
* Ecological Gardening
* Index of Plants and Techniques Featured * Annual Vegetable Chart * Long Lasting Markers: Jewelry for Your Plants * Build a Gardening Notebook
|
|