|
|
|
|
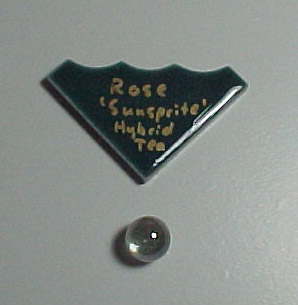
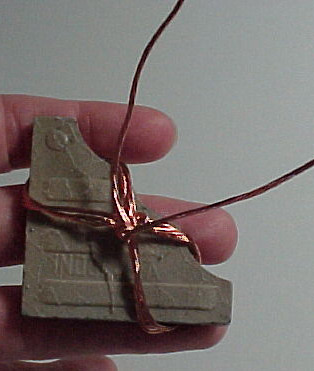
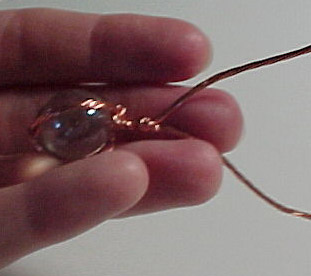
Plant Markers: Let's see what we can do with the other tile in that arrangement.
The accent tiles are a liitle too coarse to attach to the leftover triangular
tile, so beads and marbles can be used instead. Here is one
possibility:
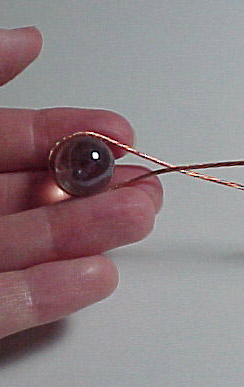
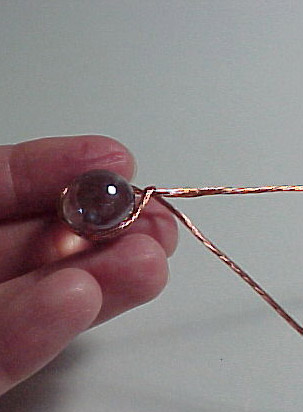
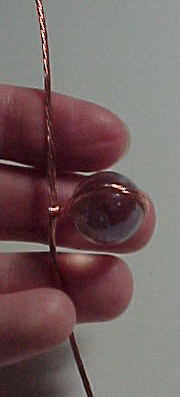
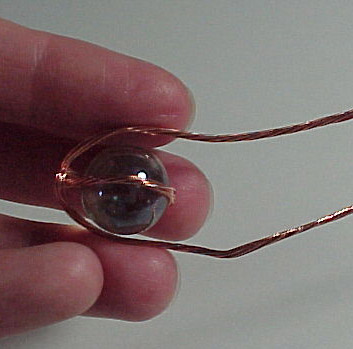
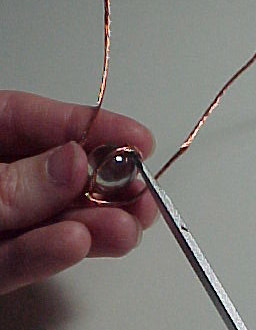
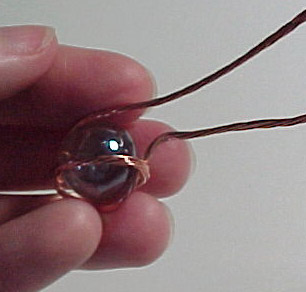
Wrapping a marble:
Next -
Attaching a Stone or a Flat Marble. Home ** What's New? ** How It All Started * Garden Update October 2004 * Garden Diary 2008 * Garden Diary 2009 * Garden Diary 2010 * Garden Diary 2011 ** New! Garden Diary 2012 ** Rose and Perennial Court * Rose Update Feb 2003 * Front Garden Update 2008-9 * Behind the Wall * Herb Circle * Tropical Edibles Area ** New! Growing Dinner: Visit to a Homegarden ** Potager * Potager 2004-5 * Potager Plan 2008-9 * Edibles 2008-9 * Crop Chart 2008-9 * Edibles Planting Schedule * Warm Season Planting 2005 * Succulent Beds * Wild Edibles * Caterpillars to Butterflies * Building Healthy Soil * Ecological Gardening * Index of Plants and Techniques Featured * Annual Vegetable Chart * Long Lasting Markers: Jewelry for Your Plants * Build a Gardening Notebook |
|